New stock Arrived | FREE shipping on orders $199+

How to Properly Torque Bolts Without Overtightening or Stripping Threads
Stripped threads are one of the most common — and most avoidable — mistakes in any workshop. One wrong twist of the wrist, and a five-minute job turns into a drill-out, a re-tap, or a trip to buy a replacement part. The good news is that torquing a bolt correctly isn't complicated once you understand what's actually happening between the threads. Having the right ratchet for the job makes it a lot easier too.
Why Torque Matters More Than "Tight"
A lot of people assume tighter is always better. It isn't. Every bolt is designed to hold a specific amount of clamping force, and that force comes from stretching the bolt slightly — not from how hard you can crank on it.
Under-tightening leaves a joint loose, which leads to vibration, rattling, and eventual failure. Overtightening does the opposite kind of damage: it stretches the bolt past its limit, crushes the material underneath it, or shears the threads clean off inside the hole. Either way, the fastener stops doing its job.
This is why torque specs exist. They tell you exactly how much rotational force to apply so the bolt clamps correctly without being pushed past its breaking point.
Step 1: Find the Correct Torque Spec
Before you touch a wrench, check the manufacturer's torque specification for that specific bolt. This is usually listed in a service manual, a parts catalogue, or sometimes stamped directly on the bolt head as a grade marking. Torque specs vary depending on:
-
Bolt diameter and thread pitch — an M10 bolt and an M12 bolt are never interchangeable on torque value, and fine-thread vs coarse-thread versions of the same size carry different specs too
-
Bolt grade or property class — a metric bolt marked 8.8, 10.9, or 12.9 (or an SAE Grade 5 vs Grade 8) is made from a different strength of steel, so a higher-grade bolt of the same size can usually take significantly more torque
-
Friction condition (the "K-factor") — a dry, unlubricated bolt needs more torque to reach the same clamping force as one that's been oiled or coated with anti-seize, since more of a dry bolt's torque is wasted on friction instead of stretch
-
What the bolt is threading into — a bolt going into hardened steel behaves differently than one threading into soft aluminium or a blind hole in cast alloy, where thread engagement length matters more
One detail worth knowing: some manufacturers specify torque-to-yield (TTY) bolts, which are designed to stretch slightly past their yield point on purpose (common on cylinder heads). These are usually torqued to a value, then rotated a further specified number of degrees, and in most cases are single-use — reusing a TTY bolt without replacing it is a common source of failures that look like a torque mistake but aren't.
Guessing a torque value based on a similar-looking bolt from another job is one of the fastest ways to end up with a stripped hole or a joint that comes loose under load.
Step 2: Use the Right Tool for the Job
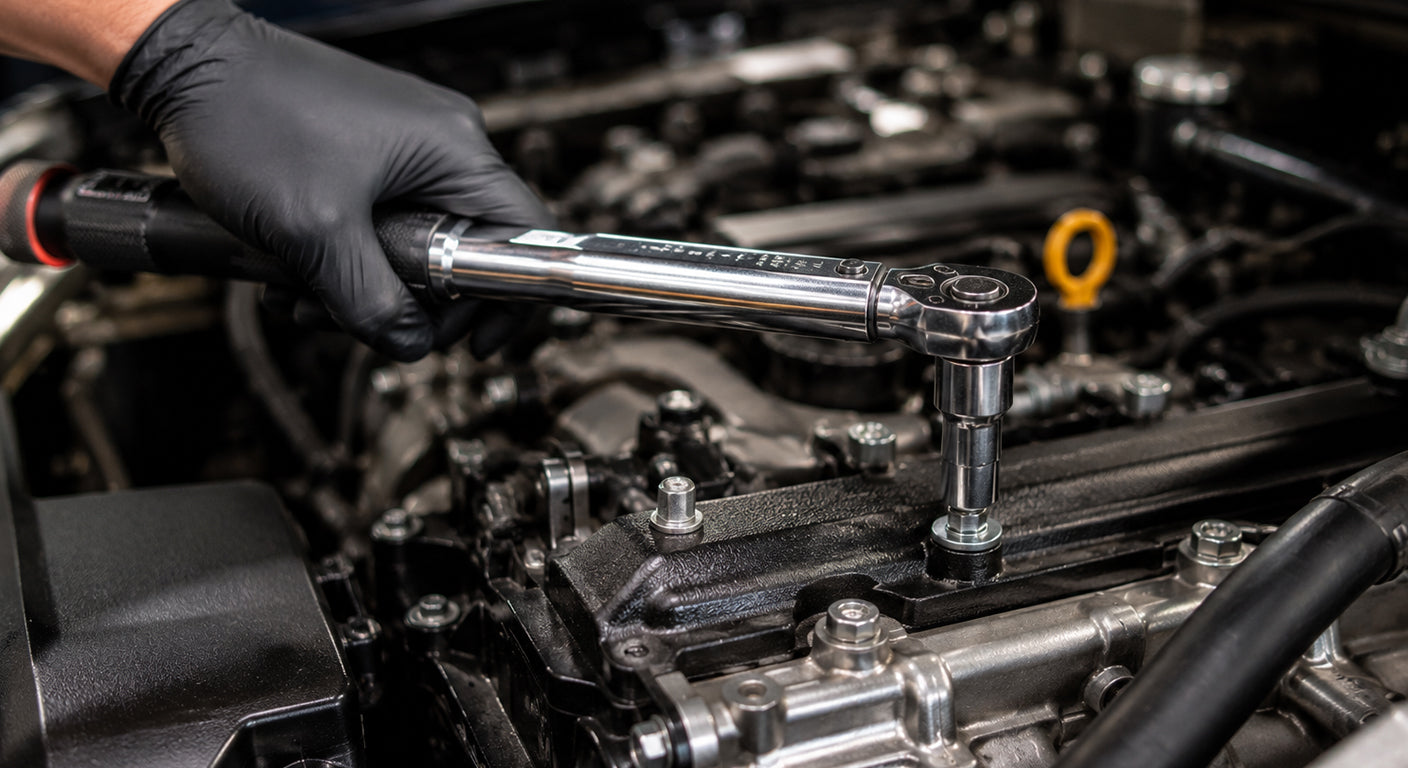
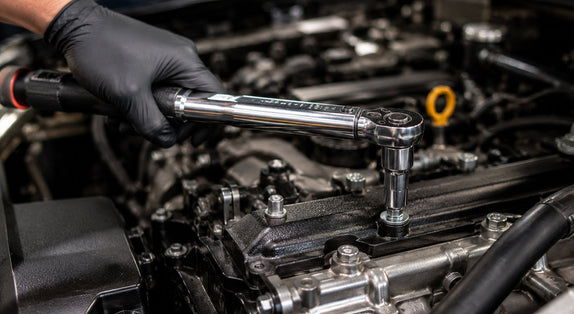
A ratchet gives you speed and control for spinning a fastener in and out, but it isn't built to measure force. For anything with a specified torque value, a calibrated torque wrench is the tool that actually keeps you within spec.
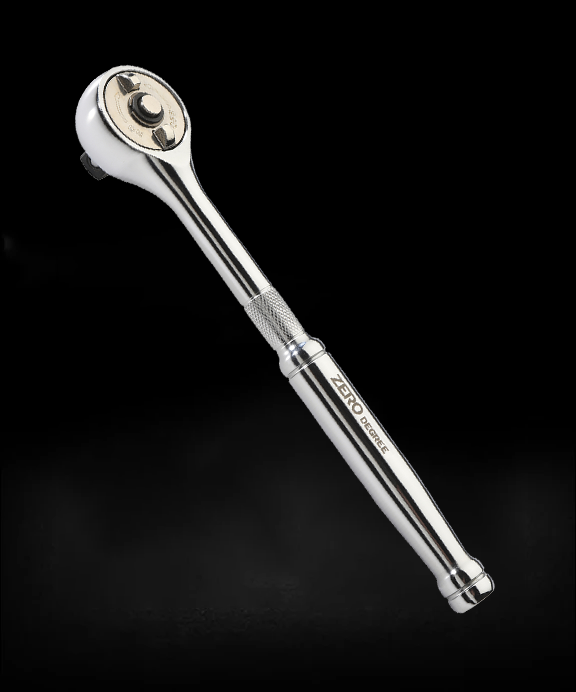
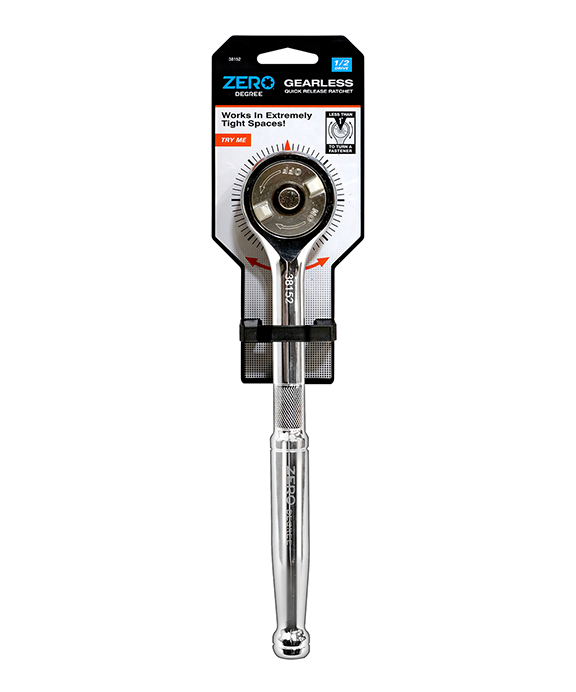
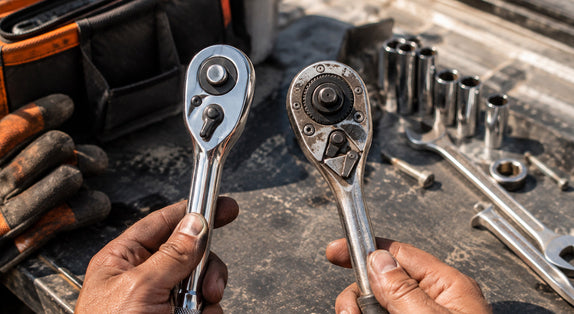
That said, a quality ratchet still matters here. A smooth, low-arc ratchet lets you make small, controlled adjustments right up to final torque, rather than jerking the bolt the last few degrees. Gearless designs are particularly useful in this last stage, since there's no play or backlash before the mechanism engages.
A couple of accuracy points that get overlooked: torque specs are usually given in Newton-metres (Nm) or foot-pounds (ft-lb), and mixing the two up on a conversion is an easy way to apply roughly 35% more or less torque than intended. Click-type torque wrenches also drift out of calibration over time, especially if left set to a high value in storage — winding it back down to its lowest setting after use helps it hold accuracy longer.
Step 3: Tighten in Stages, Not All at Once
For anything with multiple bolts holding down the same component — a wheel, a cylinder head, a cover plate — never fully tighten one bolt before moving to the next. Uneven pressure warps the part and puts extra stress on threads that are already partially loaded.
The standard approach is a star or criss-cross pattern: tighten each bolt to about half the final torque value in sequence, then go around again to bring each one up to full spec. This spreads the clamping force evenly across the joint.
Step 4: Know When to Stop
A torque wrench will click, give resistance feedback, or show a reading once you hit the target value — that's your stopping point, not a suggestion to keep going "just a little more." Continuing past the click is the single biggest cause of stripped threads and snapped bolt heads.
If a bolt feels like it's suddenly spinning freely with no resistance, stop immediately. That's usually a sign the threads have already stripped, and further tightening won't help.
Common Mistakes That Lead to Stripped Threads
-
Skipping lubrication or anti-seize where the spec calls for it, which changes the actual clamping force for a given torque reading
-
Using an impact wrench for final tightening instead of just breaking bolts loose or running them down
-
Reusing torque specs across different bolt grades without checking if they still apply
- Forcing a cross-threaded bolt instead of backing it out and starting again
Leave a comment